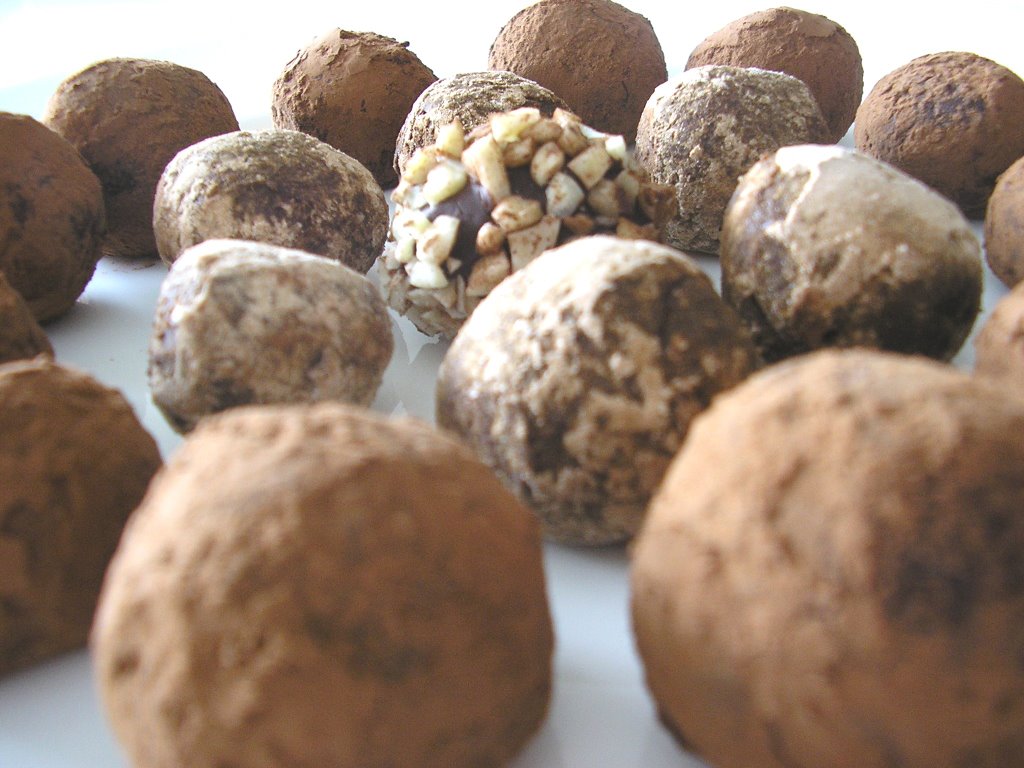
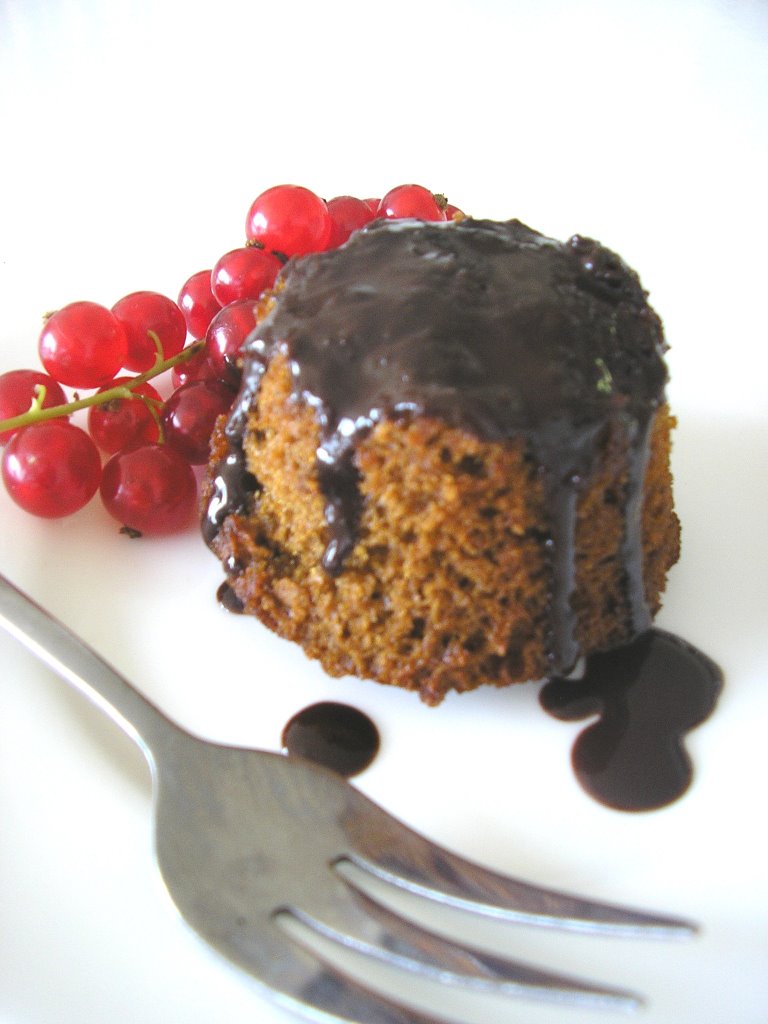
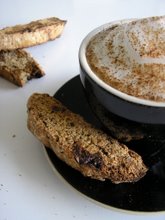
111%20(2)11.jpg) Because this following recipe should really come with a warning, thoughtful as always, I added it in for you...
Because this following recipe should really come with a warning, thoughtful as always, I added it in for you...warning:
It is very likely once you’ve tasted one of these totally luscious crisps, and you’ve got the rich addictive flavour remaining in your mouth, many, I really mean many, will follow and you will find yourself devouring the entire pile.
So a great self-control is needed.
Because I apparently don’t have that, an entire pile did follow and now we refer to them simply as ‘de lekkere ziekmakertjes’ - translated ‘the delicious little sickmakers’…
I found the original recipe for these salty biscuits in Martha Stewart’s Baking Handbook.
I don’t know what it is but I always pick out recipes that are paired with a nice picture. The art of good photography really gets me and makes me unconsciously craving for all their tasty looking delicacies. I simply can’t get a recipe out off my mind after I’ve seen the beautiful, flawless, tempting photograph.
So after seeing Martha Stewart’s mouth-watering photograph of these lovely golden-brown cookies, there was no question. I just had to make them.
Martha titled them ‘Savoury Caraway Cheese Crisps’ but you can’t really taste the mascarpone and the caraway seeds weren’t such a success so I thought they would be better of as ‘salty triangle biscuits’ and I changed it.
These cookies are surprisingly rich and light at the same time. Flaky, with a subtle, soft flavour and very irresistible. They are dry, o so buttery and they will become deliciously soft and oozy on your tongue while chewing.
Perfect for an afternoon snack or appetizer, they were also much enjoyed the next evening with a light salad.
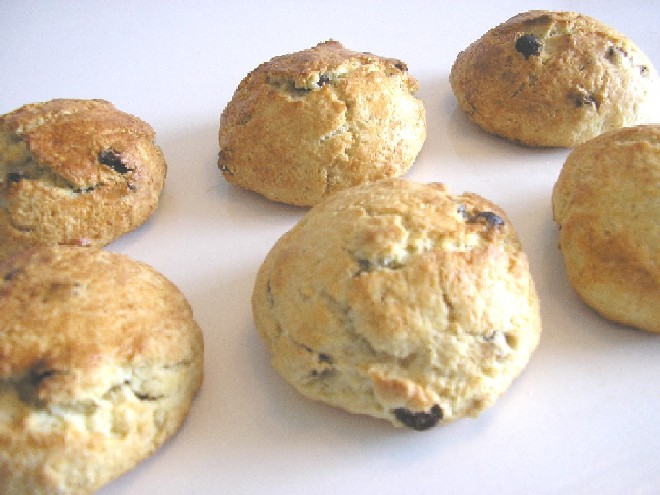
Salty Triangle Biscuits
(makes about 5 dozen)
- 400 g (2 ¾ cup) sifted all-purpose flour, plus more for dusting
- ½ tsp baking soda
- ½ tsp salt
- 55 g (¼ cup) sugar
- 200 g (2 sticks/1 cup) unsalted butter, at room temperature, cut into pieces
- 250 g (8 ounces) mascarpone cheese
- 1 large egg
sprinkling:
- coarse sea salt
- sesame seeds
- optional: your favourite herbs/spices
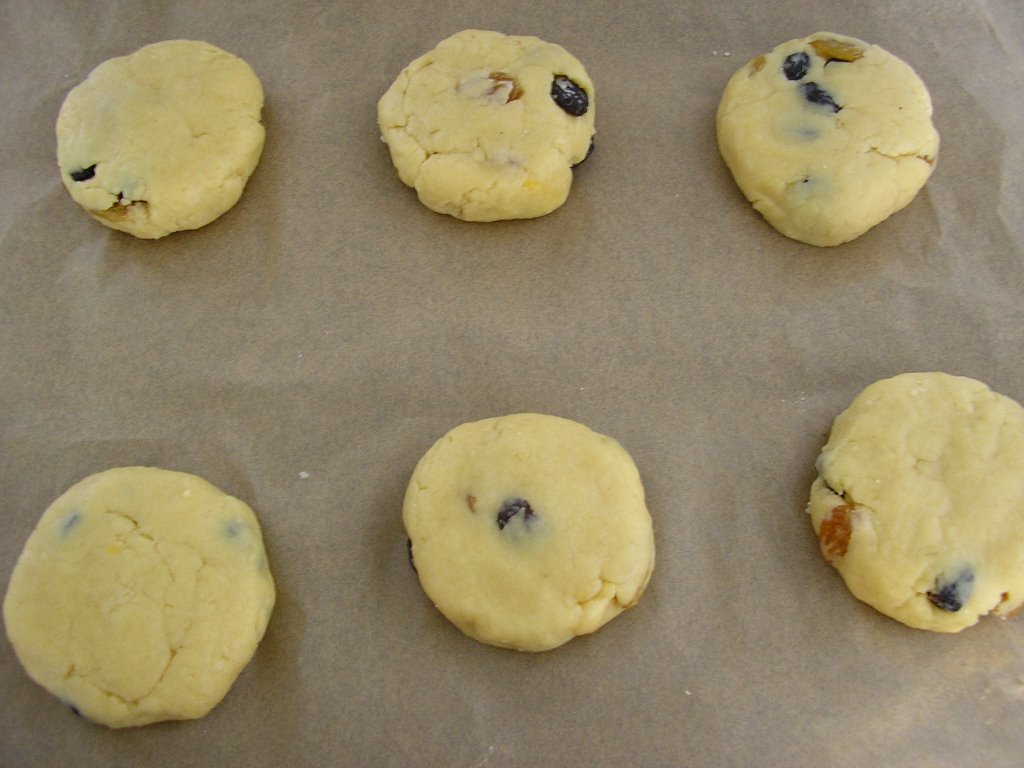
1. In the bowl of an electric mixer fitted with the paddle attachment, mix the flour, baking soda, salt and sugar. Add the butter, one piece at a time, beating until the mixture resembles coarse meal.
2. Add the mascarpone and beat until a soft dough forms, scraping down the sides of the bowl as needed.
3. Turn out the dough onto a clean surface and divide it in half. Shape each into a flattened square, wrap in plastic and refrigerate at least one hour or overnight.
4. Preheat the oven to 175°C (350°F) Line two large baking sheets with parchment paper and set aside.
5. Take the dough out of the fridge and roll each piece thinly out into a big square on a well-floured work surface. Using a pizza wheel or sharp knife, cut the dough square into triangles. (They should be roughly the same size, but the shapes don’t have to be uniform) Place them on the prepared baking sheets.
 6. In a small bowl, whisk together the egg and 1 tablespoon water. Brush each triangle with egg wash. Sprinkle some with sea salt and the others with sesame seeds.
7. Bake for 15 to 18 minutes, until the crisps are golden brown. Transfer to a wire rack to cool completely. Crisps can be kept in an airtight container at room temperature for up to 3 days..jpg)


 YES!
YES! yum, yum...! =)