Showing posts with label sweets. Show all posts

Wednesday, October 11

Wednesday Baking IV: No Baking

If you are a regular reader, you’ve already read about my beloved Wednesday Baking.
Clearly, this was too good to be true - schoolwork is really kicking in (and piling up ridiculous quickly…) and my new school period starts already next week.
From now on my Wednesday morning will be spend with maths, physics and chemistry. Great. Definitely an improvement…(!)

My plan was to make something really spectacular, over-the-top and impressive for this last Wednesday Baking.
Something like a 20layercake or perhaps try to make my favourite macarons…
well, this plan failed rather badly as I - strangely - wasn’t at all in the baking mood. I just wanted to spend this last free morning in my pj’s curled upon the couch. Eat far too much kruidnootjes, spoon away something sweet and watch many, many Friends episodes…

Friends is the best. I even dare to say me and my sister are the biggest Friends fans ever - we have watched every episode approxiately a hundred times (and I can watch them at least another 100 times…) and just like baking, this is one of my favourite, most relaxing things to do.
The last few weeks however, I hadn’t have the time (or peace) to just sit down, do nothing and watch. You can understand this morning was really needed, and I happily relived Ross and Rachel’s drama story…

So this Wednesday Baking Day was really No Baking Day - just something easy, quick, really satisfying and with a good sugar kick was needed today.
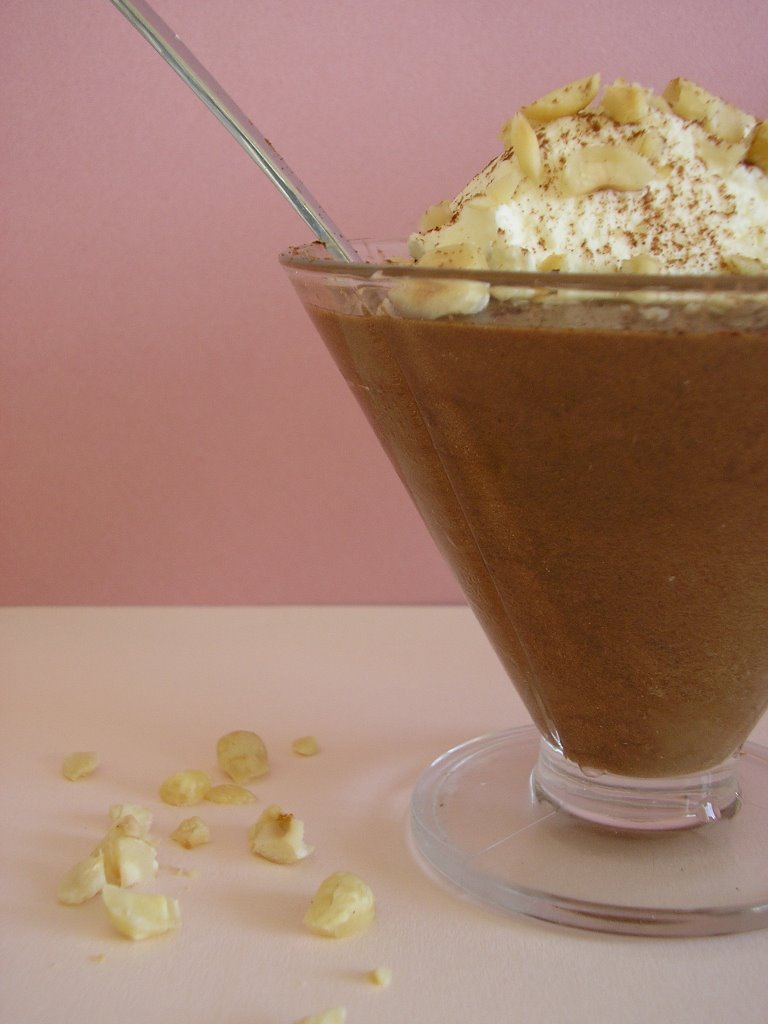
The answer was Chocolate Mousse

Intensely chocolate flavoured, exactly sweet enough and delightfully fluffy, this recipe was great. Pillowy, velvety and melting wonderfully on your tongue, this was exactly what I needed.
My homework will just have to wait a little bit longer…;)


Chocolate and a big pile of friends episodes….
Could this BE any better? ;)


Bitter Chocolate Mousse (makes 8)
- 250g (9oz) good quality, bittersweet chocolate, chopped
- 30ml honey liqueur (or brandy)
- 25g (1oz/2 Tbsp) butter, cut into pieces
- 4 eggs, separated
- 90ml (6 Tbsp) whipping cream
- 45g (3 Tbsp) sugar
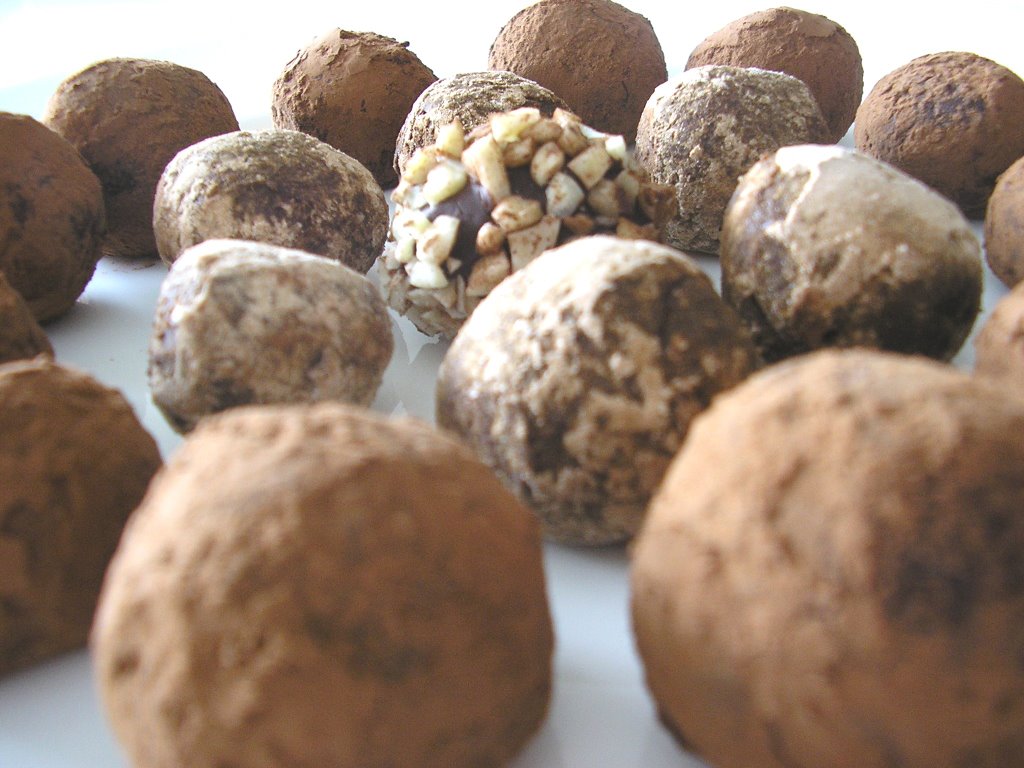
- whipped cream, some chopped hazelnuts and cocoa powder to decorate.

1. Place the chocolate and 4 tablespoons (60ml) of water in a medium saucepan. Melt over low heat, stirring until smooth. Remove pan from heat and whisk in the liqueur and butter.

2. With an electric mixer, beat the eggs yolks until thick and creamy, then slowly beat into the melted chocolate until well blended. Set aside.

3. Whip the cream until soft peaks form and stir a spoonful into the chocolate to lighten it. Fold in the remaining cream.

4. In a clean, grease-free bowl, using an electric mixer, beat the egg whites until frothy. Sprinkle over the sugar and continue beating until the whites are stiff and glossy.

5. Using a large metal spoon, stir a quarter of the egg whites into the chocolate mixture, and then gently fold in the remaining whites until just combined.
Gently spoon into 8 individual cups and chill for at least 2 hours until set and chilled.

6. Scoop a big spoon whipped cream (beaten with a tablespoon of sugar) on top, sprinkle some chopped hazelnuts on top and lightly dust with cacao powder.


Thursday, August 10

Chocolate truffles


The remaining ganache which was standing in my fridge since I’d made chocolate-glazed gingerbread cakes (see previous post) I ended up using for some chocolate truffles. I know, not the most original post. But because they’re so delicious you’ll all forgive me, right?
Chocolate truffles are extremely rich and tasty, very easy to make and so much fun! You will feel like a real chocolatier; shaping and creating your own legendary bonbons, and everything, really I mean everything, including yourself, will be covered with chocolate and cocoa powder…indeed one messy process! (Or does this happen just with me?)
But I’m sure you’ll completely forget this when you’re finished and you’ll have a delightful homemade truffle in return… =)

I made 3 different ones; one with a regular cocoa coating, one covered with a mixture from ground cinnamon and sugar, (this one was my favourite!) and the last one with a layer of ground hazelnuts -
They turned out beautiful and, of course, very tasty… (They’re ganache truffles; who doesn’t like that??)

After a bit of sampling, and my mom had another few more... - She really, really liked them; she just couldn’t leave them alone! - which made me of course in return happy; it’s nice if what you’ve made is been appreciated so much…-
Well, I packed “the leftovers” in nice, pretty, gift bags and gave them out as little presents. They looked wonderful and I must say, very impressive

Chocolate truffles

- 1 recipe for Chocolate Ganache (see previous post chocolate-glazed gingerbread cakes)
- 100 g bittersweet chocolate, chopped for coating
- +/- 50 g unsweetened cocoa powder
- +/- 50 g of chopped nuts – I used hazelnuts but just use what you like; almonds, peanuts or walnuts for example…
- 25 g cinnamon powder mixed with 25 g icing sugar


1. If you haven’t have the ganache already; make the ganache and let it stand for at least 2 hours, until firm. (or chill, covered, until firm)

2. Scoop, with a spoon, the truffle mixture into little balls (about 2 cm) and roll each one in your hand palms until round. Place them on a plate and chill the truffles thoroughly - the warmth of your hands will make them melt a little!

3. melt the chocolate in a heatproof bowl over a pan of simmering water (stir once in a while) and spread the cocoa powder on one plate, the cinnamon/icing sugar on a second plate and the chopped nuts on a third one.

4. When the chocolate is melted, take it off heat and let it cool slightly. take the truffles out the fridge.

5. Dip one hand in the melted chocolate. Pick up a truffle with your clean hand and place it in your hand covered in chocolate. Smear the truffle all with chocolate and then roll it through one of the coatings. Place on a plate and repeat this process for all the truffles. You’re done!

6. Truffles can be served immediately or can be refrigerated for up to 10 days.

Sunday, July 30

Italian Honey Loops

Some days ago I bought “ La Doce Vita - Sweet Things from the Italian Home Kitchen” by Ursula Ferrigno and it became right away my favourite cooking book. It’s just wonderful for authentic Italian pastry. The book is timeless; filled with delicious recipes for Italian pudding, pastry, pies, cookies, other sweets and of course the famous gelato! There are also many sweet recipes for Italian feasts, for example these Honey Loops; traditionally people eat them only on Christmas Eve. (why for heavens sake just once a year??) Almost every recipe is paired with the most beautiful pictures, and when I see them, I picture myself in lovely sunny Italy. Just sitting outside in front of a local pasticceria, enjoying my morning espresso with some tasty pastry…

Browsing trough the book, I found the recipe for ‘Honey loops’ and I just couldn’t get the picture of these little sugared cookies out of my mind. They were completely new for me, so I didn’t know what to expect, but I already knew it would be very good. The picture looked so delicious and having dreamed about this high, golden pyramid, drowned in honey and mixed spices last night, this morning I woke up resolute and made my bunch of Honey Loops...

And I was absolutely right. Although it didn’t taste how I thought it would, the Honey Loops were very, very delicious and a real success. The thick spongy inside paired with the sticky sugary outside was just perfect.
The loops self haven’t got a concrete taste. They’re just very soft, dry and doughy. (In fact I don’t think I would have put them in the chapter ‘cookies’…) All the flavour comes from the outside - the sweet honey with the sugar mixture - Therefore it’s really important you use honey from a good quality and aren’t too thrifty with it. Drown those Loops!

Just watch out you don’t make the loops to thin. They are much nicer when they’re big and thick. They’ll have more bite and you’ll notice the difference between textures much better.
The Honey Loops should be eaten the same day (but I doubt that’ll be a problem…)

Honey Loops
(makes 15)

- 15 g fresh yeast or 1 ½ tsp instant yeast with a pinch of granulated sugar.
- 150 ml warm water
- 225 g flour
- pinch of salt
- olive oil, for frying
topping:
- 5 Tbsp honey
- granulated sugar and about 2 tsp of mixed spices to sprinkle on top. (a bit to taste!)

1. Combine the fresh yeast with 2 Tbsp warm water. If you’re using instant yeast, mix it with the sugar in 2 Tbsp warm water. Leave the yeast for 15 minutes on a warm spot, until it becomes a foamy mixture.

2. Sift the flour and salt over a medium bowl. Make a dimple for the yeast mixture and pour it, together with the remnant of warm water in the bowl. Mix until you have dough.

3. Knead the dough, on a flowered surface, for about 10 minutes, until its elastic. After this, place in a lightly oiled bowl, cover the dough with a clean towel and leave it to rest for 20 minutes.

4. Take little pieces of dough, about the size of a chestnut, and roll it out till strings. Place the ends over each other, so that on one side there’ll be a loop. Make 15 loops.


5. Heat the olive oil in a pan until it starts to smoke. Bake the loops five at the same time. Pay good attention; this doesn’t take much time. Take them out when they’re golden and let them leak out on kitchen paper.

6. Make a pyramid out of the loops and cover it with warm honey. Sprinkle generously with sugar and mixed spices.